第 2 课
请智能体规划一条测试,审查步骤后保存计划
用 plan 生成测试计划,审查拟议步骤并 apply 保存。
课程目录第 2 / 3 课
学习位置仅保存在当前浏览器,有效期 180 天。
图文教材
本课对照官方文档 CLI Quickstart 中「Request and review a plan」一节编写。plan 的对照 JSON 来自官方 CLI 0.17.0 的 --dry-run 罐头样例,主题是优惠券规则,不是你输入的那句访客结账。真实运行会按你的应用和提示词生成计划。
本课目标
- 用 plan 请项目智能体提出一条测试,并加上 --steps 查看步骤
- 读懂 proposed 状态、步骤和后续命令
- 需要修改时用 reject 或 reply,确认后用 apply 保存
- 从 apply 的返回里复制测试 ID,供下一课执行
第 1 步:请智能体提出一条测试
官方示例要求智能体规划一条访客结账测试。它会使用项目的默认环境,这里就是上一课的 staging。--steps 会显示拟议的操作和断言。
先设好项目 ID 变量,再执行:
PROJECT_ID='your-project-id'
testsprite plan \
  "Propose one test that completes guest checkout \
with a test card and checks for an order confirmation" \
  --project "$PROJECT_ID" --steps
请把英文提示词里的旅程换成你自己应用里真实可走通的路径。官方说明:若智能体在对话里提问,用 testsprite reply 回答;若还需要等待,再执行 testsprite status --wait --steps。要修改计划,使用 testsprite reject 并写明应改什么。
第 2 步:阅读计划结构
没有真实密钥时,本机用官方罐头样例查看字段:
testsprite --dry-run plan \
  "Propose one test that completes guest checkout \
with a test card and checks for an order confirmation" \
  --project "proj_dryrun0001" \
  --steps \
  --output json
注意:罐头样例的标题是 Cover the new coupon rules,并包含 2 条新增测试和 1 条修改。这是官方示例数据,不是对上面这句结账提示词的真实规划。你要看的是字段结构。节选如下:
{
  "id": "conv_dryrun_2026",
  "state": "proposed",
  "proposal": {
    "kind": "plan",
    "summary": "2 new tests, 1 changed",
    "plan": {
      "added": [
        {
          "ref": "1",
          "title": "A second percent-off coupon replaces the first",
          "steps": [
            {
              "type": "action",
              "description": "Add the Desk Lamp to the cart and open the cart"
            },
            {"type": "action", "description": "Apply SAVE10, then WELCOME15"},
            {
              "type": "assertion",
              "description": "Only WELCOME15 is listed and the total is $35.70"
            }
          ]
        }
      ]
    }
  },
  "next": [
    {"command": "testsprite apply", "why": "save the plan to the test suite"},
    {"command": "testsprite reject \"<what to change>\"", "why": "the agent revises it"}
  ]
}
审查时重点看:每条测试的 title、action 与 assertion 是否符合你的产品预期。官方提醒:如果没有需求文档,智能体只能按应用当前行为来测。
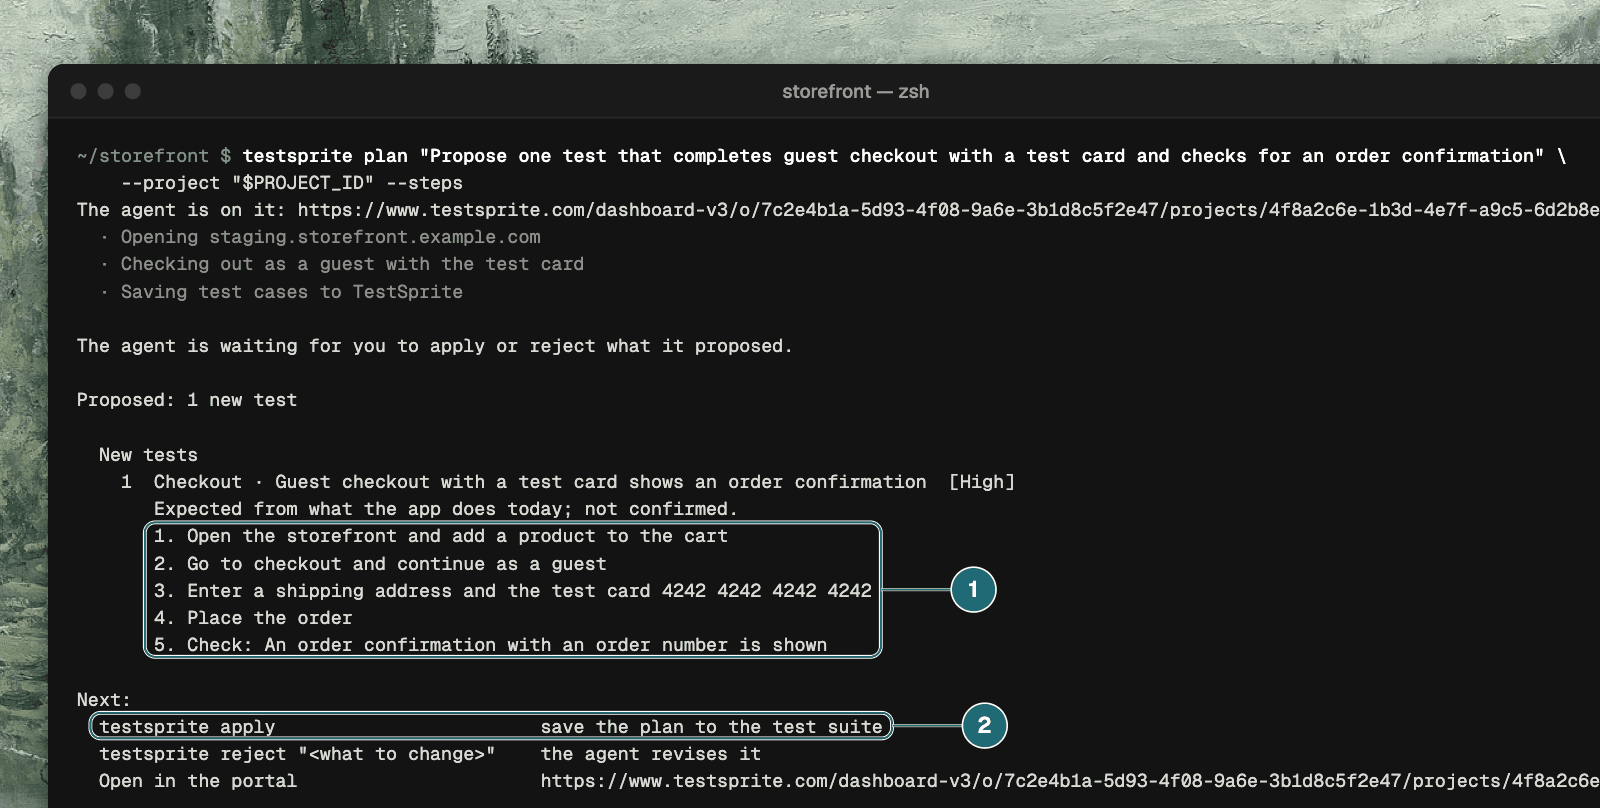
官方 CLI Quickstart 配图,展示 testsprite plan ... --steps 的计划输出与后续 apply 命令。来源:
第 3 步:保存计划
当对话里出现你认可的测试计划时,在同一目录执行 apply。官方说明:返回 JSON 的 applied.tests 里含有保存后的测试 ID。
testsprite apply --project "$PROJECT_ID" --output json
本机在未传 --project 时,即使加了 --dry-run,也会得到本地校验错误 No project. 所以 apply 必须带上 --project,或先设置 TESTSPRITE_PROJECT_ID。按官方文档,保存成功后即可进入下一课执行测试。
若计划需要修改,先不要 apply,改用:
testsprite reject "what should change"
把 what should change 写成你要改的具体内容。